

To add a new event to MapTiming HASH, follow these step-by-step instructions.
- Open hash.maptiming.com/new.
The form is displayed where all information about the event can be entered. - Enter the title of the event and the event start date, start time, end date and end time.
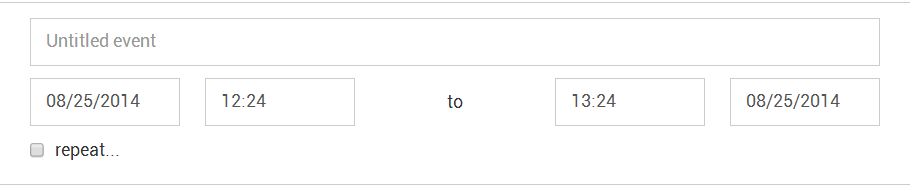
Note:- start and end can be different dates for events that take longer than a day
- time is selected by 30 minute blocks, but you can type in the field to enter a more precise time
- If you have a repeating event, tick the “repeat…” checkbox.
An extra pane is displayed where the calendar rules for the repeating event can be specified. While you edit, the list of dates is automatically refreshed.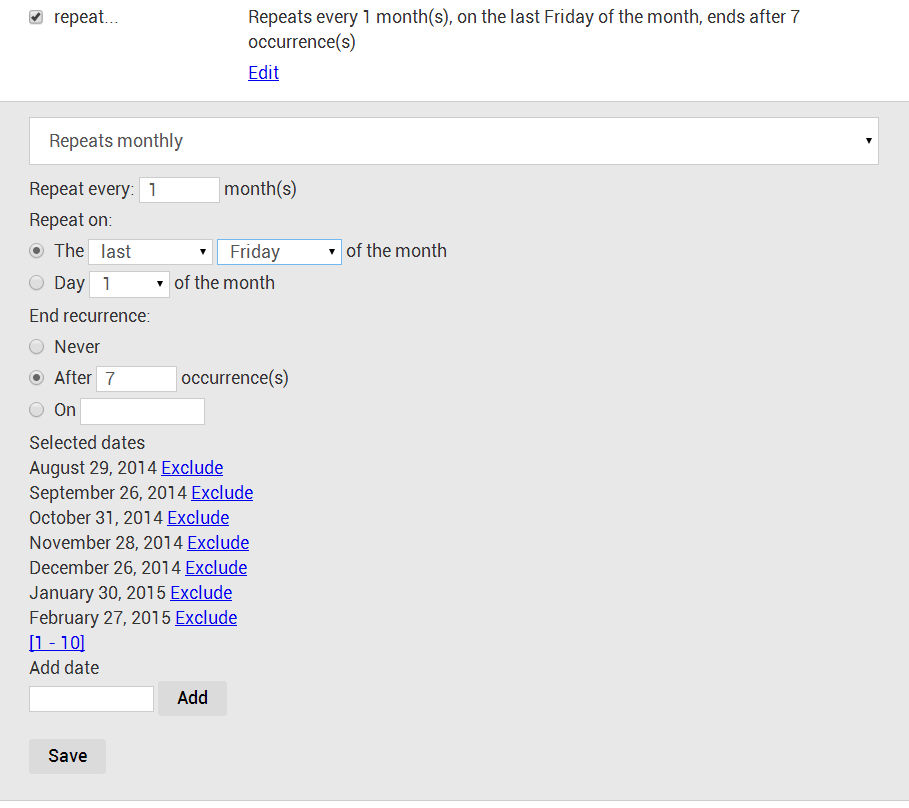
Note:- Events can repeat daily, weekly, monthly or yearly. Each frequency setting has different parameters to fill in. Take your time to explore these forms!
- Click “Exclude” to remove one repetition from the list
- Enter a date and click “Add” to add a date to the list that doesn’t follow the repetition rules
- Click “Save” to collapse the pane.
- Enter the location.
Do this by adding information to the fields or by browsing and clicking the map. The first field contains address information and is synchronized with the map. The second field contains the name of the location. The third field is used for giving extra directions.
Locations that were used before are highlighted on the map with a red marker.
Important note: if you reuse a location, click the red marker to copy the stored location information and avoid entering duplicate information! The third field can be used to narrow down the location details.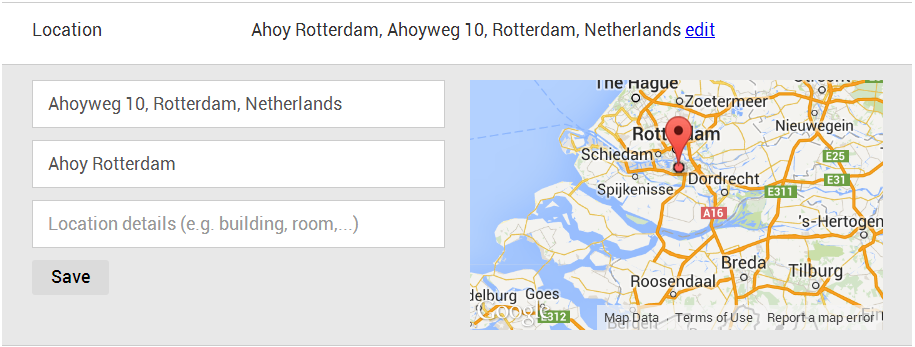
- Click “Save” to collapse the pane.
- Enter contact information.
Tick the “Registration is required” checkbox if you want participants to contact you before joining the event. Contact details can be filled in here, and extra instruction can be provided in the description field further on.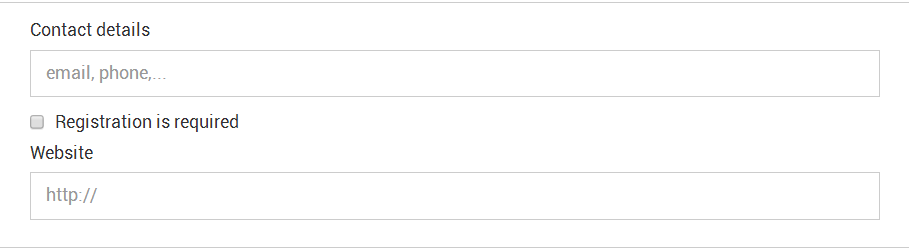
- Enter the description.
Some tables provide predefined tags, displayed as checkboxes. In the description, you can add your own tags as hashtags, by adding a # character in front of some word.Later on, you can filter the map for all events that have this custom tag in their description.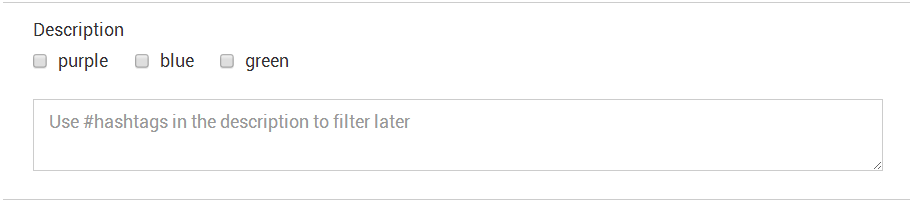
- Click the “SAVE” button to store the event.
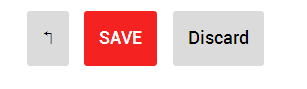
- If not all fields are filled in correctly, a message will be displayed in red next to the fields that must be edited.
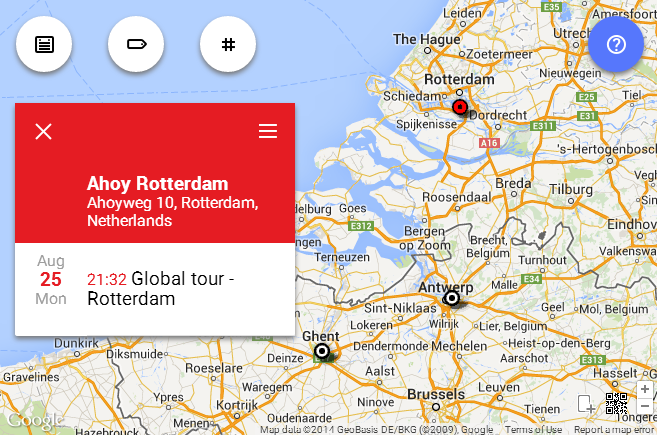
- The new event is now displayed on the map.
Permalink